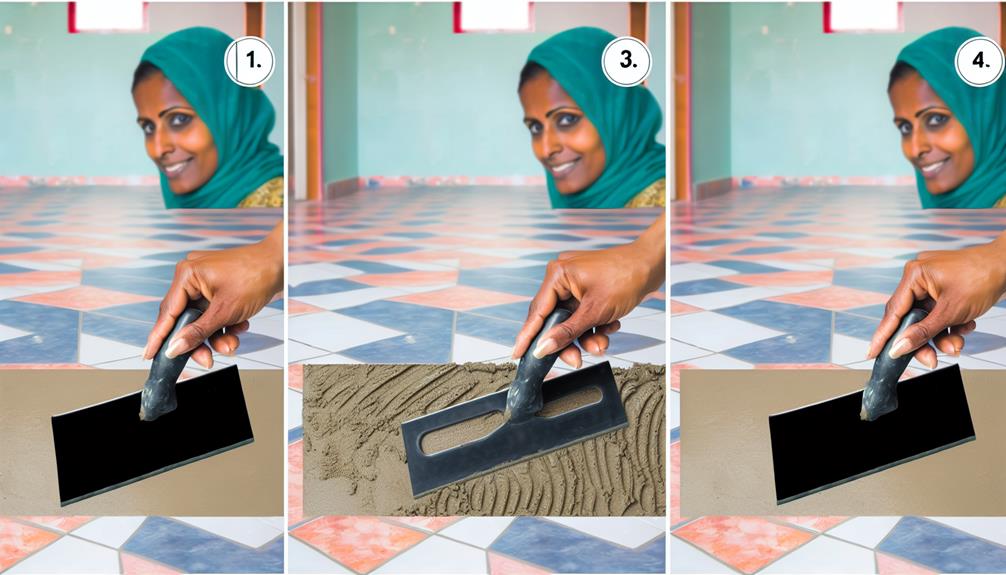
To achieve flawless terrazzo grouting, you need to follow three essential steps. Begin by meticulously preparing the surface, ensuring it is free from any imperfections. Then, move on to the precise application of grout, paying close attention to detail. Lastly, the finishing touches will elevate the appearance of your terrazzo to a whole new level. But remember, the key to flawless results lies in the execution of each step with precision.
Key Takeaways
Contents
- Thoroughly clean and repair terrazzo surface before grouting.
- Apply grout in small sections using a grout float.
- Clean excess grout with a damp sponge as you work.
- Allow grout to set before gently wiping away haze.
- Buff tiles with a dry microfiber cloth for a polished finish.
Surface Preparation
Before you begin the grouting process, it's crucial to ensure that the surface is properly prepared.
Proper surface preparation is key to achieving a flawless terrazzo grouting finish. Begin by thoroughly cleaning the terrazzo surface to remove any dust, dirt, or debris that could affect the adhesion of the grout.
Use a gentle cleaner that's suitable for terrazzo to avoid damaging the surface.
Next, inspect the terrazzo for any cracks, chips, or uneven areas.
These imperfections should be repaired before proceeding with the grouting process. Fill in any gaps with a suitable terrazzo filler and allow it to dry completely before moving on to the next step.
Lastly, ensure that the terrazzo surface is completely dry before applying the grout.
Moisture on the surface can interfere with the grout's ability to properly bond and could lead to a subpar finish. Use a moisture meter to confirm that the surface is dry before proceeding.
Following these steps will set a solid foundation for a successful terrazzo grouting project.
Grout Application
To achieve a professional and flawless terrazzo grouting finish, the application of the grout is a critical step that requires precision and attention to detail.
Proper grout application ensures a durable and aesthetically pleasing outcome.
Follow these key steps for a successful grout application:
– Start Small: Begin by applying a small amount of grout at a time, focusing on a small section of the terrazzo surface.
This approach allows you to work efficiently and maintain control over the application process.
– Use the Right Tools: Utilize a grout float or rubber grout float to apply the grout evenly across the surface.
Ensure that the grout lines are filled entirely and that excess grout is removed promptly.
– Work Methodically: Work in a systematic manner, spreading the grout evenly and consistently.
Avoid rushing through the application process to prevent uneven distribution or air pockets in the grout.
– Clean as You Go: Keep a damp sponge or cloth handy to clean off excess grout from the surface and edges as you work.
This practice helps achieve a clean and professional finish.
Finishing Touches
For achieving a flawless terrazzo grouting finish, attention to detail in the final stages is crucial.
After allowing the grout to set for the recommended time, it's time for the finishing touches that will elevate the overall look of your terrazzo surface.
Begin by gently wiping away any remaining haze on the tiles using a clean, damp sponge. It's essential to be thorough but careful not to disturb the grout lines.
Next, use a dry microfiber cloth to buff the tiles and remove any lingering residue. This step will help enhance the shine of the terrazzo and ensure a polished appearance.
Frequently Asked Questions
Can Terrazzo Be Used for Outdoor Applications?
Yes, terrazzo can be used for outdoor applications due to its durability and resistance to weather conditions. It's a versatile material that can withstand outdoor environments when properly sealed and maintained. Consider terrazzo for your outdoor projects.
How Long Should Terrazzo Grout Cure Before Sealing?
Before sealing, terrazzo grout should cure for at least 72 hours. This crucial step ensures proper adhesion and durability. Rushing this process may compromise the longevity of your terrazzo installation. Patience now guarantees lasting beauty.
Is It Possible to Change the Color of Terrazzo Grout?
Yes, you can change the color of terrazzo grout. To do so, select a grout colorant designed for terrazzo. Follow the manufacturer's instructions for application. Ensure the grout is clean and dry before applying the colorant for optimal results.
Can Terrazzo Be Installed Over Existing Flooring?
You can install terrazzo over existing flooring by ensuring the surface is clean, level, and structurally sound. Use a bonding agent to promote adhesion, then lay the terrazzo mix and finish with grinding and polishing for a seamless result.
How Do You Repair Cracks in Terrazzo Grout?
To repair cracks in terrazzo grout, start by cleaning the area thoroughly. Apply an epoxy grout filler into the cracks, ensuring it is level with the surface. Use a grout float to smooth and blend the repair seamlessly.

