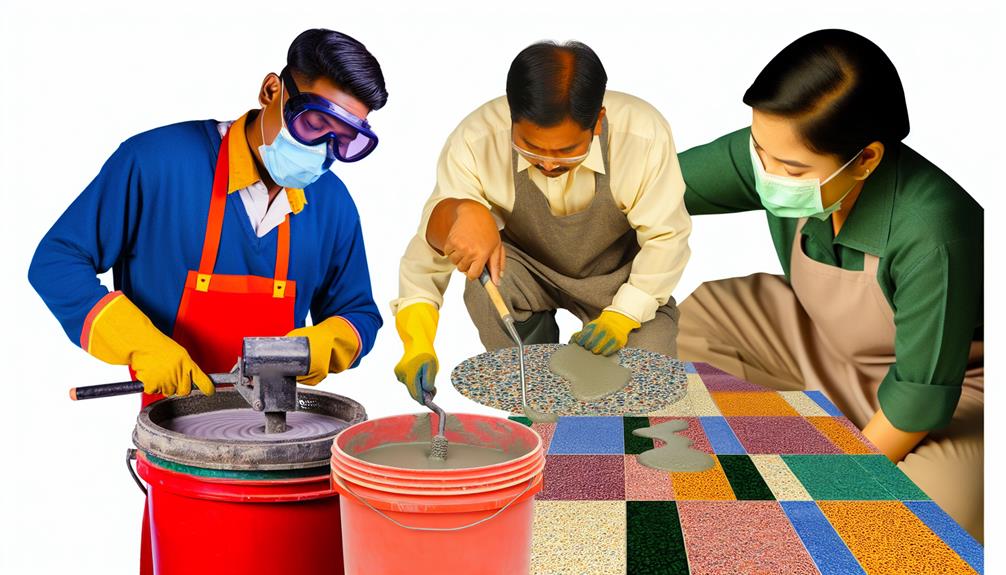
When it comes to achieving flawless terrazzo surfaces, mastering the art of grouting is key. Imagine a seamless finish that elevates the entire aesthetic of your project. By following three essential steps, you can ensure a professional outcome. From selecting the perfect grout to the final finishing touches, each stage plays a crucial role in achieving a stunning terrazzo surface. Ready to elevate your grouting game and transform your terrazzo installations?
Key Takeaways
Contents
- Choose appropriate grout type based on terrazzo material.
- Apply grout evenly and fill joints completely.
- Use diagonal motion to work grout into joints.
- Buff and polish terrazzo for shine.
- Seal grout and conduct final inspection for perfection.
Selecting the Right Grout
When it comes to selecting the right grout for your terrazzo project, it's crucial to consider various factors that will impact the final outcome.
The first aspect to contemplate is the type of terrazzo you're working with. Epoxy grout is best suited for epoxy terrazzo due to its chemical resistance and durability, while cementitious grout is more suitable for traditional cement-based terrazzo.
Additionally, take into account the color of the terrazzo aggregates and the overall design aesthetic you're aiming for. Choosing a grout color that complements or contrasts effectively with the aggregates can significantly enhance the visual appeal of the finished terrazzo surface.
Furthermore, consider the location of the terrazzo installation. For areas with high foot traffic or exposure to moisture, opt for a grout that offers superior strength and water resistance.
Applying Grout to Terrazzo Surface
To achieve a successful terrazzo grouting process, applying the grout to the terrazzo surface requires precision and attention to detail.
Start by pouring a small amount of grout onto the terrazzo and spread it evenly using a rubber float or squeegee.
Work the grout into the joints in a diagonal motion to ensure complete coverage. Make sure to fill all the joints completely to avoid any gaps or air pockets.
Once the grout is applied, use a damp sponge to remove excess grout from the surface.
Rinse the sponge frequently to prevent smearing excess grout back onto the terrazzo.
Pay close attention to the edges and corners to ensure a clean finish.
After cleaning the surface, allow the grout to dry according to the manufacturer's instructions.
Avoid walking on the grouted area until it's completely dry to prevent any damage or imperfections.
Following these steps will result in a beautifully grouted terrazzo surface ready for the finishing touches.
Finishing Touches and Clean-Up
Once the grout has been meticulously applied and allowed to dry, attention can now shift towards the final steps of perfecting the terrazzo surface.
The finishing touches and clean-up involve a few essential steps to achieve a flawless finish and ensure your terrazzo surface shines.
To achieve a flawless finish and ensure your terrazzo surface shines, follow these essential steps:
- Inspect for Imperfections: Carefully examine the grout lines for any gaps or inconsistencies that need to be addressed.
- Buffing and Polishing: Use a terrazzo buffer to enhance the shine and smoothness of the surface.
- Sealing the Grout: Apply a high-quality grout sealer to protect the grout from dirt and stains.
- Cleaning Residue: Wipe down the surface with a damp cloth to remove any grout haze or excess grout.
- Final Inspection: Take a step back and inspect the entire terrazzo surface to ensure it meets your standards of perfection.
Frequently Asked Questions
Can Terrazzo Grout Be Used Outdoors?
Absolutely! Terrazzo grout can withstand the elements outdoors. It's a durable option for outdoor spaces like patios or walkways. Just ensure proper sealing and maintenance to keep it looking pristine despite the harsh outdoor conditions.
How Long Should I Wait Before Sealing Grout?
You should wait at least 48 hours before sealing grout. This allows the grout to fully cure and ensures a strong bond. Remember, proper drying time is crucial for effective sealing and long-lasting results.
Can I Change the Color of Grout After It Dries?
You cannot change the color of grout after it dries. Like a canvas painted and set, grout's color is permanent once dry. Ensure you choose the right shade before application to achieve the desired terrazzo finish.
Is It Normal for Grout to Crack Over Time?
Yes, it is normal for grout to crack over time due to factors like shrinkage, settlement, and improper installation. To prevent this, ensure proper mixing, application, and curing techniques. Regular maintenance and resealing can also help prolong grout integrity.
Can I Apply Multiple Layers of Grout for a Thicker Finish?
You want a robust finish? Don't stack grout layers like pancakes. It's a recipe for disaster! Stick to one even layer for durability. Thick grout may crack and weaken over time. Opt for quality over quantity.

