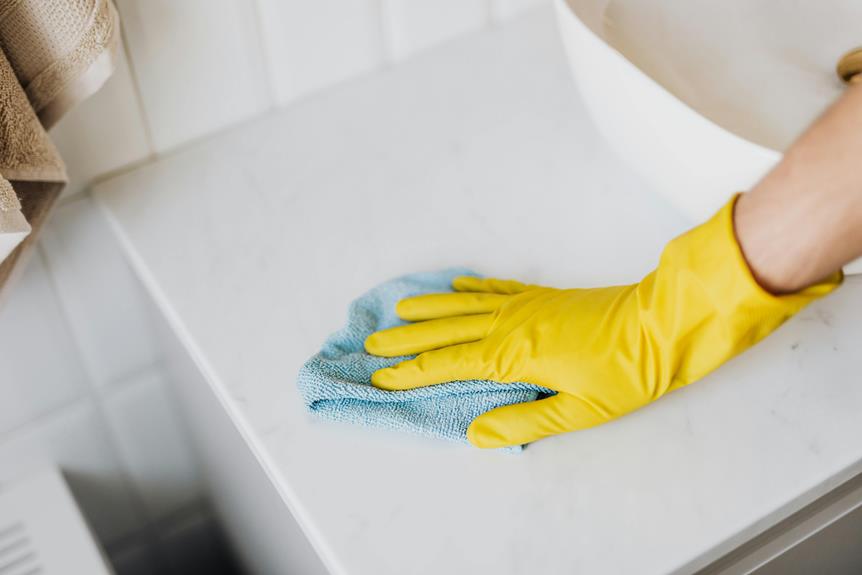
When it comes to marble, its luster is like a mirror reflecting elegance and sophistication. But over time, that shine can fade, leaving your surfaces looking dull and lifeless.
Wondering how to revive that lost sheen? Our step-by-step guide will walk you through the meticulous process of DIY marble polishing, from assessing the condition of your marble to applying expert techniques that will have your marble gleaming once again.
So, if you're ready to transform your space with a touch of luxury, let's get started on this journey to restoring the shine to your marble surfaces.
Key Takeaways
Contents
- Assess marble condition for imperfections and tailor approach for effective restoration.
- Gather necessary supplies like cleaners, polishes, and sealants for marble polishing.
- Prepare the surface by cleaning, removing debris, and applying sealant before polishing.
- Use proper polishing techniques, finish with a protective sealant, and maintain for long-lasting beauty.
Assessing Marble Condition
When evaluating marble condition, we always start by examining its surface for any signs of wear or damage. This initial step is crucial in determining the extent of restoration needed to bring back the marble's natural shine and beauty. One key aspect we focus on is evaluating damage such as scratches, chips, or cracks that may have occurred over time. By identifying these imperfections early on, we can address them effectively during the polishing process.
In addition to physical damage, we pay close attention to identifying stains on the marble surface. Stains can detract from the overall appearance of the marble, making it look dull and aged. Common culprits like water marks, food stains, or chemical discolorations can often be treated with the right cleaning techniques. By pinpointing these stains, we can tailor our approach to ensure they're properly removed, allowing the natural elegance of the marble to shine through once again.
Gathering Supplies
To prepare for marble polishing, we gather all the necessary supplies for the restoration process. Creating a shopping list is essential to ensure we've everything we need before starting. The first items on our list are cleaning products specifically designed for marble surfaces. These may include a pH-neutral cleaner, marble polish, and a sealant. It's crucial to choose products that won't damage the delicate marble but are effective in removing dirt and stains.
In addition to cleaning products, we need specific tools for the polishing process. A soft microfiber cloth or mop is ideal for cleaning and applying products without scratching the marble. We also require a polishing compound to restore the marble's shine effectively. Some other items that might be on our shopping list are protective gloves to keep our hands safe during the process and a mask to prevent inhaling any fumes from the cleaning products.
Preparing the Surface
After gathering all the necessary supplies, we carefully inspect the marble surface to ensure it's free of any debris or residue before proceeding with the preparation process. Cleaning the surface is crucial in achieving a polished finish.
We start by wiping the marble with a damp cloth to remove dust and dirt. Next, we use a mild detergent mixed with warm water to clean more stubborn stains. Once the surface is clean and dry, we move on to the sealing step. Sealing the marble helps protect it from future damage and enhances its shine.
We apply a marble sealant evenly using a clean cloth or sponge, making sure to cover the entire surface. After allowing the sealant to dry completely as per the manufacturer's instructions, our marble is now ready for the polishing techniques that will restore its natural luster.
Polishing Techniques
Inspecting the marble surface for any imperfections or irregularities is our first step in mastering effective polishing techniques. By carefully assessing the condition of the marble, we can identify areas that require specific attention, ensuring a uniform and lustrous finish. Once the inspection is completed, it's time to delve into the actual polishing process using various buffing tips to achieve the desired shine restoration. Here are some maintenance tricks to keep in mind to avoid common polishing mistakes:
| Buffing Tips | Polishing Mistakes | Maintenance Tricks | Shine Restoration |
|---|---|---|---|
| Use gentle circular motions | Applying too much pressure | Regularly clean the surface | Start with a low-grit pad |
| Work in small sections | Skipping grit levels | Seal the marble periodically | Gradually increase grit |
| Keep the surface lubricated | Not cleaning the surface adequately | Avoid harsh chemicals | Finish with a high-grit pad |
Finishing Touches
Upon completing the polishing process, we apply a protective sealant to enhance the marble's luster and longevity. This final step not only seals the pores of the marble but also adds a layer of protection against stains and scratches, keeping your marble looking vibrant for longer periods.
Here are three essential finishing touches that will leave your marble surfaces looking stunning:
- Gently apply the protective sealant: Use a clean, soft cloth to apply the protective sealant evenly across the entire marble surface. This step not only enhances the shine but also ensures that your marble maintains its beauty for an extended time.
- Buff the surface with a buffing cloth: After applying the protective sealant, gently buff the surface using a high-quality buffing cloth. This process helps to remove any excess sealant and further enhances the marble's natural sheen.
- Admire the gleaming finish: Step back and admire your work. The glossy finish and renewed luster of your marble surfaces won't only bring a sense of accomplishment but also create a welcoming ambiance in your space.

